At 0521hours, I'm finally done with editing and uploading my video onto Youtube!
This is my first ever makeup tutorial - I've actually done a couple of them before (filmed and transferred onto laptop, then edited), but they've always felt too rubbish to be uploaded. Actually, so does this, but this has been on my To-Do list for ages, and I'm DETERMINED to strike it off my list!
I do hope this has helped though, as I've had friends ask me for suggestions and advice on applying makeup, especially eye-makeup, which seems to be daunting to quite many people. It's all really fun and simple, so don't feel apprehensive! I also learnt the hard way, that is, through many years of practice, and I'm still learning so much every day about makeup. (: It's really one of my favourite things to do.
For this particular look, I focused on smoky eyes, because I often do such looks, and also went with a more wearable and prettier pink lips just to stay within the girly realms. I first did my base and brows because I like to take my time working in my liquid foundation into my skin, so I decided to skip filming those steps in my tutorial.
My full product list is here (ETA: Flea has requested that I also include the prices of the products, so I have added those in to the best of my abilities; they're as I remember and also either bought from during my stay in Europe or mostly in Singapore):
(as mentioned in the tutorial)
Eyes
Sin; Urban Decay (Ammo Palette S$63)
Galapagos; Nars (approx. S$38; a conversion from euros, please forgive me for any discrepancies)
Black liquid eyeliner; Dollywink (S$22-24)
Lashes; Palz (available from Bugis Street or Far East Plaza)
Lash glue; Star Lash (available from Watsons)
Lips
Catfight; Nars (approx. S$38)
Hue; Mac (S$26)
(Not mentioned in tutorial)
Face
Healthy Mix in shade 23; Bourjois
Full Cover concealer in shade 5; Make Up Forever (S$54)
Dream Matte Powder in Medium Beige; Maybelline ($S22.90)
Hoola bronzer/contour powder; Benefit
Angelika blush; Nars (approx. S$50)
For my brows, I used a mix of brown powder and brown eyebrow pencil (from Make Up Academy) to create more texture and depth, but anything you're used to and suits your hair colour will be fine as well. (:
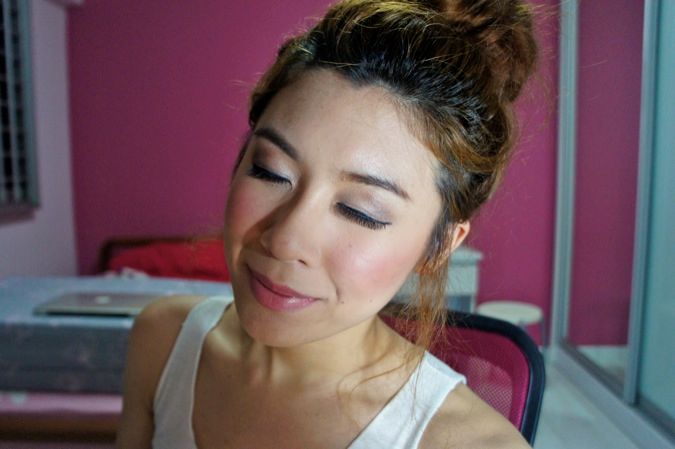
Here are some photos snapped of the finished look!
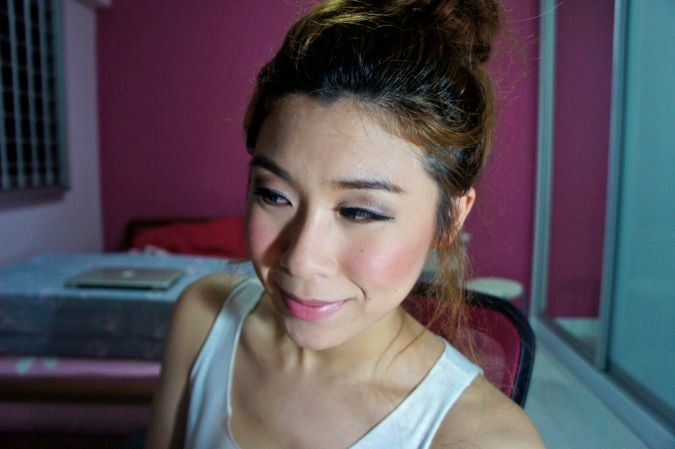
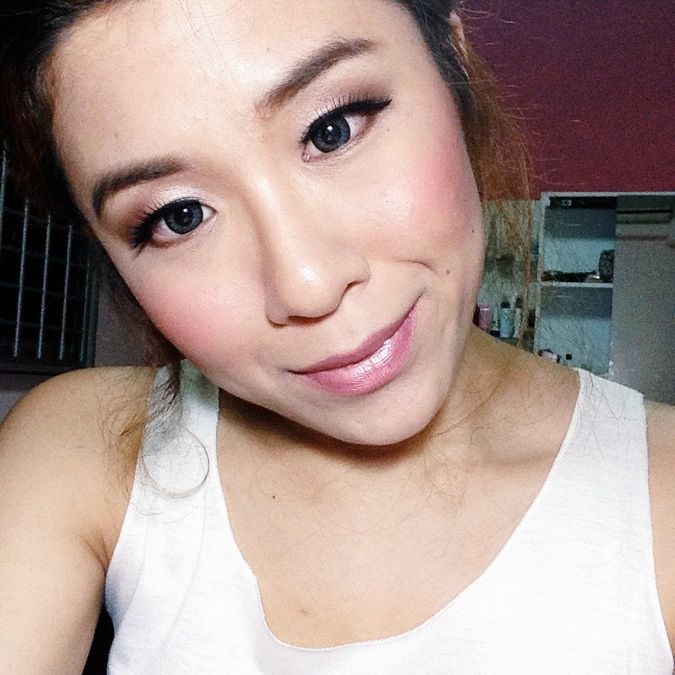
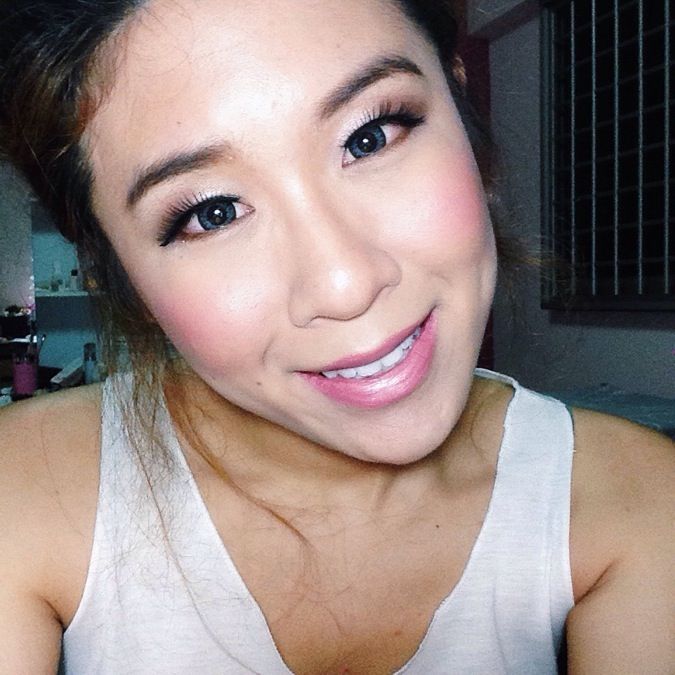
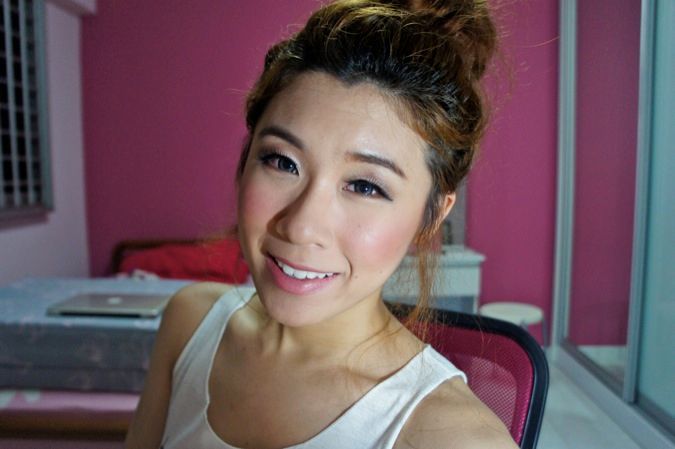
Hope you have fun doing this tutorial! (:
Love,
Pamela
Labels: favourite things, makeup, smokyeye queen, tutorials, YouTube
